

Your friendly wolf companion in Ghost of Yotei is not just there to add to the mystique. You can rank up a special skill tree to turn your lupine friend into a supplementary murder machine that can help you out in challenging situations. To do so, you need to earn its trust by finding all the wolf dens in the game and completing the mission attached to each one. All Wolf Den locations in Ghost of Yotei When you find each wolf den, you will need to follow the wolf and assist it. Usually, this will mean taking on enemies who are trying to kill wolves in the local area, and sometimes it will mean a duel against a particularly powerful foe, so be careful. Yotei Grasslands Great Mountain Wolf Den this den can be found to the northwest of the Crow’s Nest Watchtower. Green Hill Wolf Den this den is located south of Leake Shikotsu, beside the road that runs south to Shirahige Falls. Ishikari Plains Old Wound Wolf Den this can be found west of the Rumoi River, to the northwest of Stone Jaw Coast. Dying Fire Wolf Den is found to the west of the Matasumae Outpost. Tokachi Range Howling Fields Wolf Den can be found to the south of the Boar’s Eye Cave. Hunter’s Watch Wolf Den can be found in the center of the Ohara Plains. Nayoro Wilds White Scars Wolf Den this is found just north of Kankan Creek along the Nupur River. Teshio Ridge Cold Lake Wolf Den this den can be found to the east of Sarobetsu Lake. Biting Wind Wolf Den this can be found to the north of the Sentinel Forest. Oshima Coast Waterfall Wolf Den this den can be found to the east of the Saito Artillery Outpost.
https://www.shacknews.com/article/146946/all-wolf-den-locations-ghost-of-yotei
Category: games
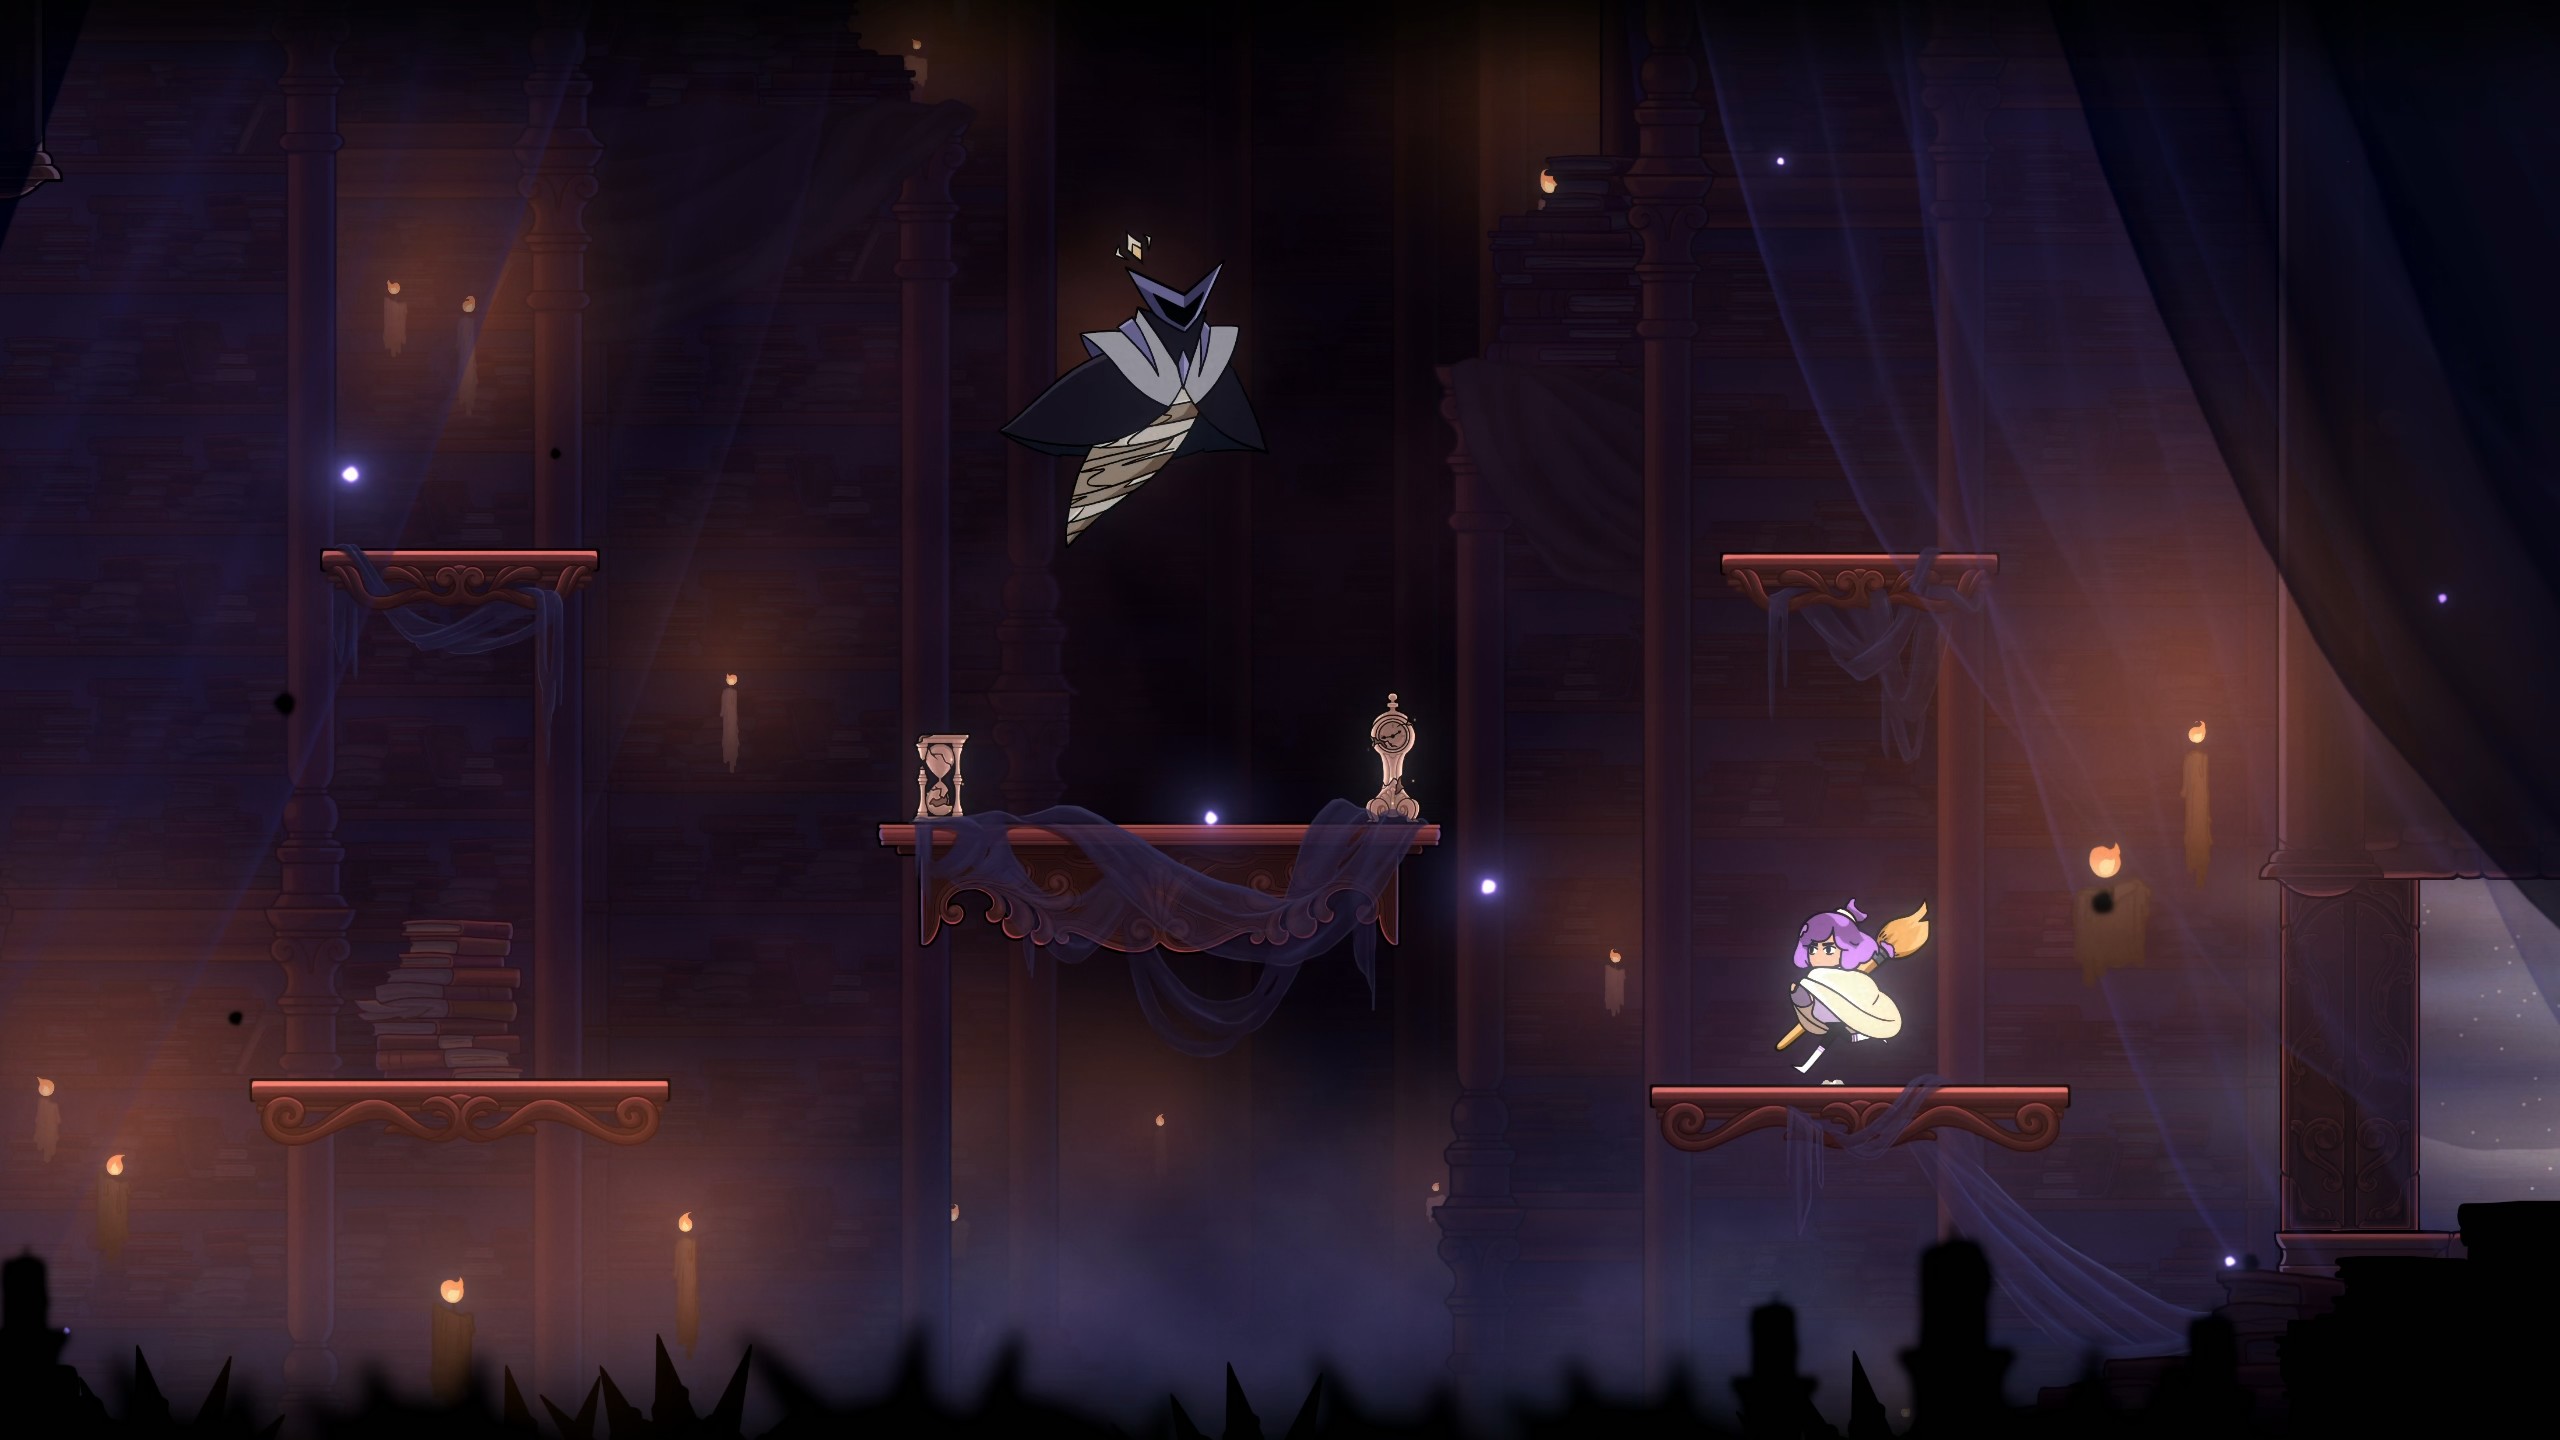
How to defeat the Astral Academy bird boss in Constance
The fight against the bird in the Astral Academy can be a tough one to get down right away. Luckily we’ve got a method that makes this boss fight much more of a walk in the park, as long as you’ve got a little bit of patience. How to beat the bird in the Astral Academy The fight begins with the bird generating several spinning circles of fire that you’ve encountered on the path toward this boss room. The fire will spawn in the direction that you’re either standing in or moving toward. This makes it difficult to try to go for attacks on the bird, so you’ll want to primarily focus on just avoiding the fire for now, but you can go for an attack if you happen to be within a close enough distance after dodging. For the bird’s next attack, it transforms into a barrage of papers that fly toward you fairly quickly, along with a line of books that either fall or fly up toward you. You’ll need to Paint Dive through the papers and the books. You don’t need to worry about landing on a platform after diving, as falling off the map will just make you respawn on the last platform you touched and won’t take any health. You can even use that to your advantage, since you do get a brief period of invulnerability after respawning. After this series of attacks ends, the bird will surround itself with sheets of paper, using them to throw paper planes at you one by one. As the bird is shooting its paper planes, it will be encircling the room, stopping briefly at each of the four corner platforms. This is where you’ll have the safest opportunity to attack. At this point, you should have the Paint Clone ability, in which you place down a painted version of yourself that can be exploded to deal damage. Place a Paint Clone at the opposite end of the room from the bird. Then, wait for the bird to move close to the clone and detonate it. This is the safest way to attack since you can easily dodge the paper planes, and the bird’s movements are extremely predictable. Once you’ve done enough damage, the bird will fly up, and a few portal hook points will spawn in the air. You’ll need to figure out the correct order to Paint Stroke through each of these portals until you get high enough to use Paint Stroke through the bird, after which, it will fall to the ground, allowing you to get a few hits in. A good way to get even more damage here is to drop a Paint Clone on the middle platform before launching through the portals, and detonate it when the bird falls down. That way, you can get your few hits in on top of the extra damage from the Paint Clone explosion. This process will repeat a few times. Just keep following the method above for each attack, and you’ll eventually see that sweet victory screen.
https://www.shacknews.com/article/146947/how-to-defeat-the-astral-academy-bird-boss-in-constance
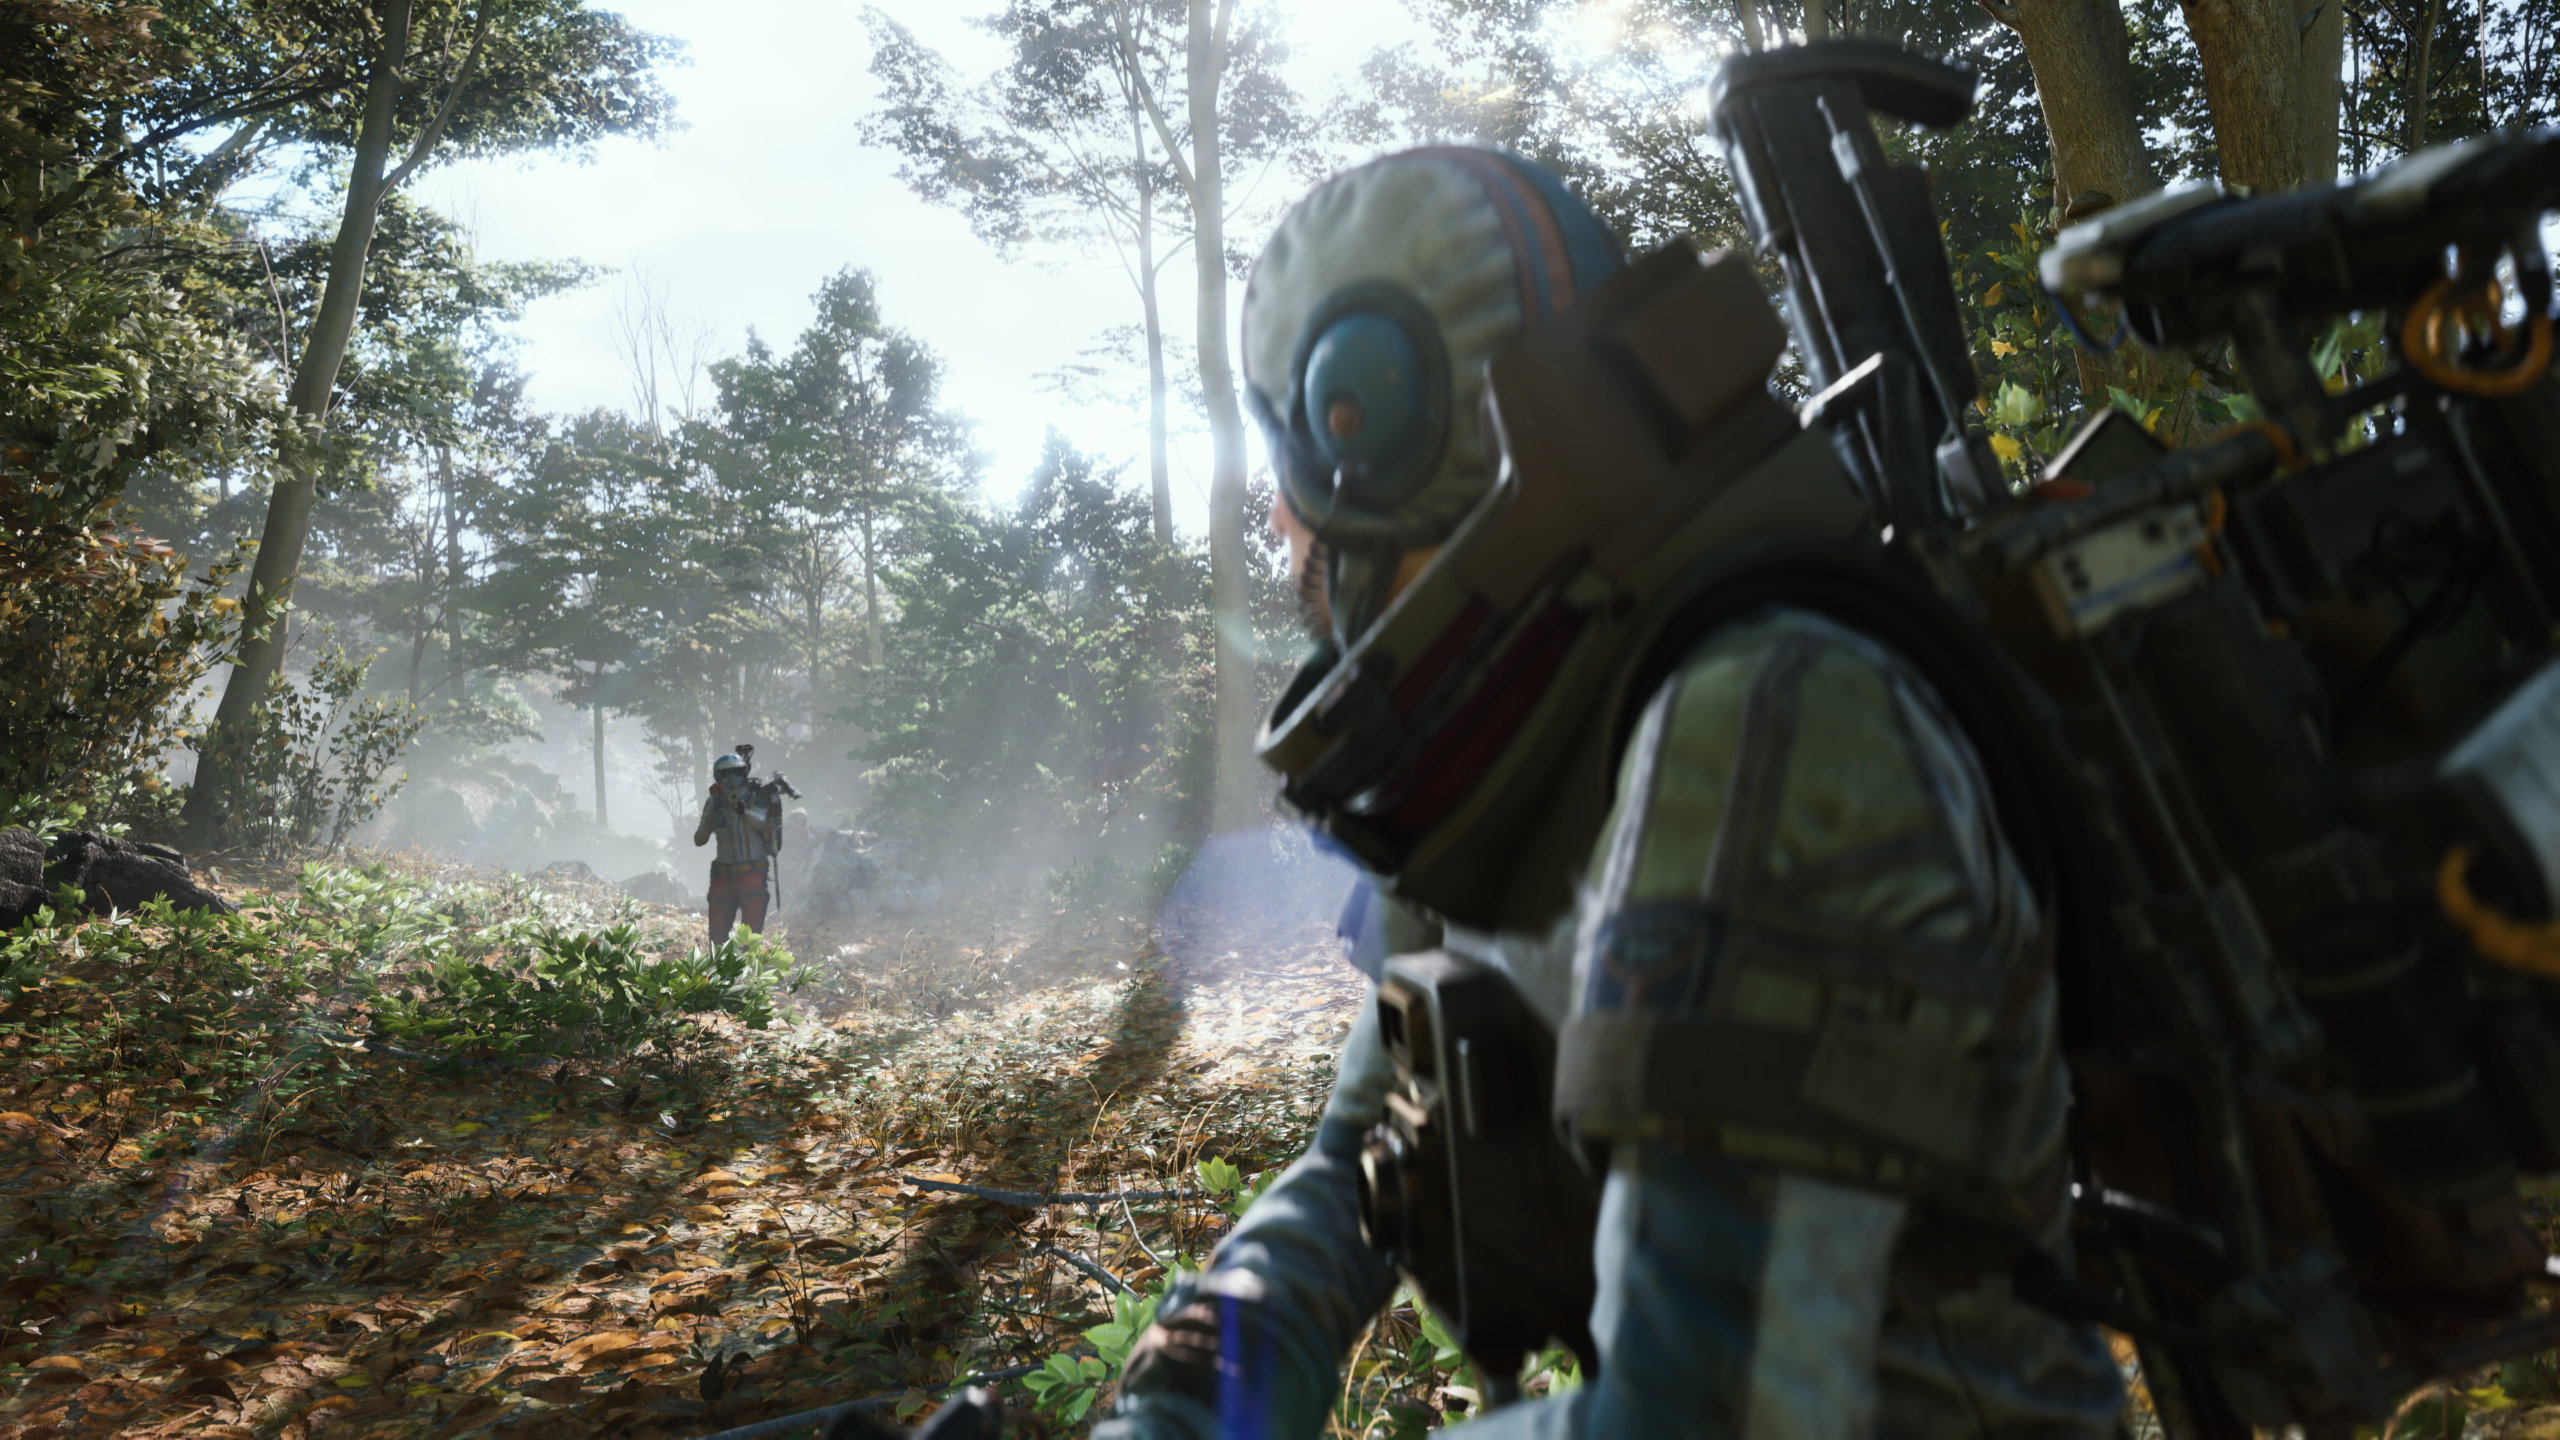
How to harvest plants for Trials – ARC Raiders
The harvest plants Trial in ARC Raiders asks players to collect plants. It sounds simple. Unfortunately, actually finding plants can be tough, and even when you do find them, some don’t count! The good news is that there is one location which let ensure you hit the 3-star reward and even hopefully bump you up a rank. How to harvest plants The best place to farm the harvest plants Trial is on Dam Battlegrounds in a Night Raid or Electromagnetic Storm. Go to Hydroponic Dome Complex to find Moss, Mushrooms, and Great Mullein. These are the three plant types that count towards the harvest. Unfortunately, picking fruit (Prickly Pears, Apricots, etc) does not count towards the Trial. Once you arrive at the Hydroponic Dome Complex, search each of the buildings. Moss tends to grow on the larger canisters in each room while Great Mullein and Mushrooms can appear inside the water vats in the big buildings. After the area is clear, search through the swamp to the south. Sometimes there are Mushrooms on the trees and Great Mullein growing in the water. Your points are doubled when completing Trials in a Night Raid or similar big map event. You should get roughly 500 points per harvest, meaning you’ll need roughly eight to complete the 3-star Trial. However, if you’re chasing a highscore on the leaderboard, try to keep going and get as many as possible. Ideally, you’ll do this in a team to minimize your chances of getting surprised and downed. When playing solo, I managed to extraction with a cool 7, 000 points.
https://www.shacknews.com/article/146886/harvest-plants-trials-arc-raiders

Cities: Skylines development moves to Iceflake Studios
Colossal Order, the studio behind Cities: Skylines and its sequel, are departing the franchise and separating from publisher Paradox Interactive. Development on the Cities: Skylines franchise is moving to Iceflake Studios, an internal studio at Paradox Interactive. Paradox Interactive announced the change in a statement to the Cities: Skylines 2 forum. Described as a “mutual” decision, Colossal Order will hand the reins over to Iceflake Studios. Paradox says Iceflake Studios has already begun work on Cities: Skylines 2, and that players can expect new expansions and content updates for years to come. Colossal Order, on the other hand, will begin work on new projects.
https://www.shacknews.com/article/146853/cities-skylines-series-new-developer

Watch the November 2025 PlayStation State of Play here
Today marks the date of the latest PlayStation State of Play, but this one will be a bit different from what has come before. The November 2025 event is a special edition titled **State of Play Japan**, with a sole focus on games developed in Japan and other studios across Asia.
You can watch the November 2025 PlayStation State of Play Japan live on the PlayStation YouTube channel. The event will take place today, **November 11, at 2 p.m. PT / 5 p.m. ET**.
We know a couple of key details about today’s PlayStation event. First, it will be approximately 40 minutes long. Second, it will primarily spotlight games from Japan and other Asian studios. This focus means publishers like Square Enix, Capcom, and Sony themselves are expected to be featured.
Stay tuned to the official PlayStation channel to catch all the latest announcements and updates from the State of Play Japan showcase!
https://www.shacknews.com/article/146776/watch-playstation-state-of-play-japan
Pokemon Pokopia gets March 2026 release date
Pokémon Pokópia: Release Date Confirmed for March 5, 2026
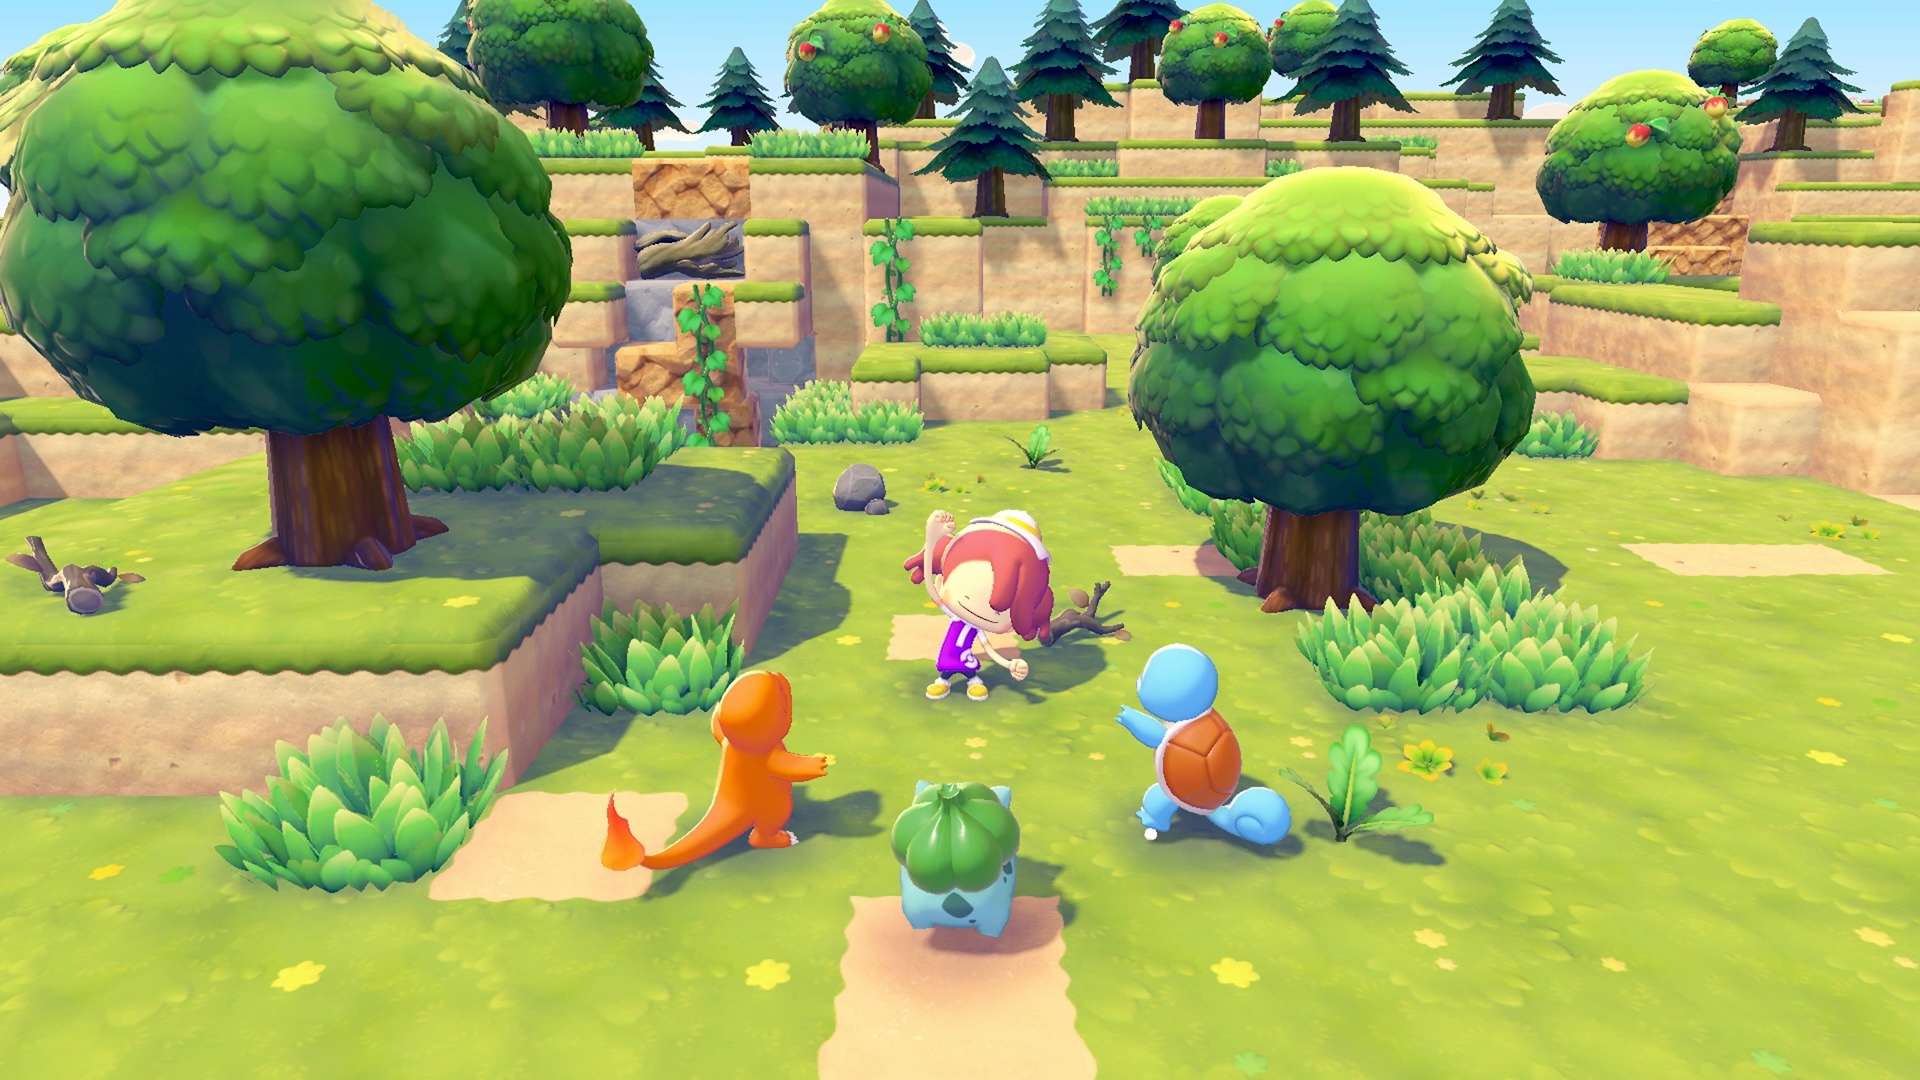
Pokémon fans have something exciting to look forward to! Pokémon Pokópia, the first-ever Pokémon lifestyle simulation game, was initially revealed back in September 2025 with a tentative release window set for 2026. Now, Nintendo has officially announced that the game will launch on March 5, 2026.
The announcement came via a post on X, Nintendo’s social media platform, though no new trailer, screenshots, or additional game details were shared at this time. What we do know is that Pokémon Pokópia will be a Switch 2 exclusive, marking an important addition to the console’s lineup.
In Pokémon Pokópia, players take on the role of Ditto, the shapeshifting Pokémon. Although Ditto appears as a human-like figure, it uses its unique powers to harness the abilities of various Pokémon. Players will use these powers to shape the land, grow crops, and build structures in an immersive lifestyle simulation experience.
The game was originally unveiled during the Nintendo Direct presentation in September 2025 and is being developed by Koei Tecmo, a studio known for its expertise in simulation and strategy games.
Pokémon Pokópia now joins other major titles like 007 First Light and Saros as key releases scheduled for March 2026. This year is shaping up to be significant for the Pokémon franchise as it celebrates its 30th anniversary in February.
Stay tuned for more updates as the release date approaches!
https://www.shacknews.com/article/146773/pokemon-pokopia-release-date
How to brew aromatic oils in Kingdom Come: Deliverance 2
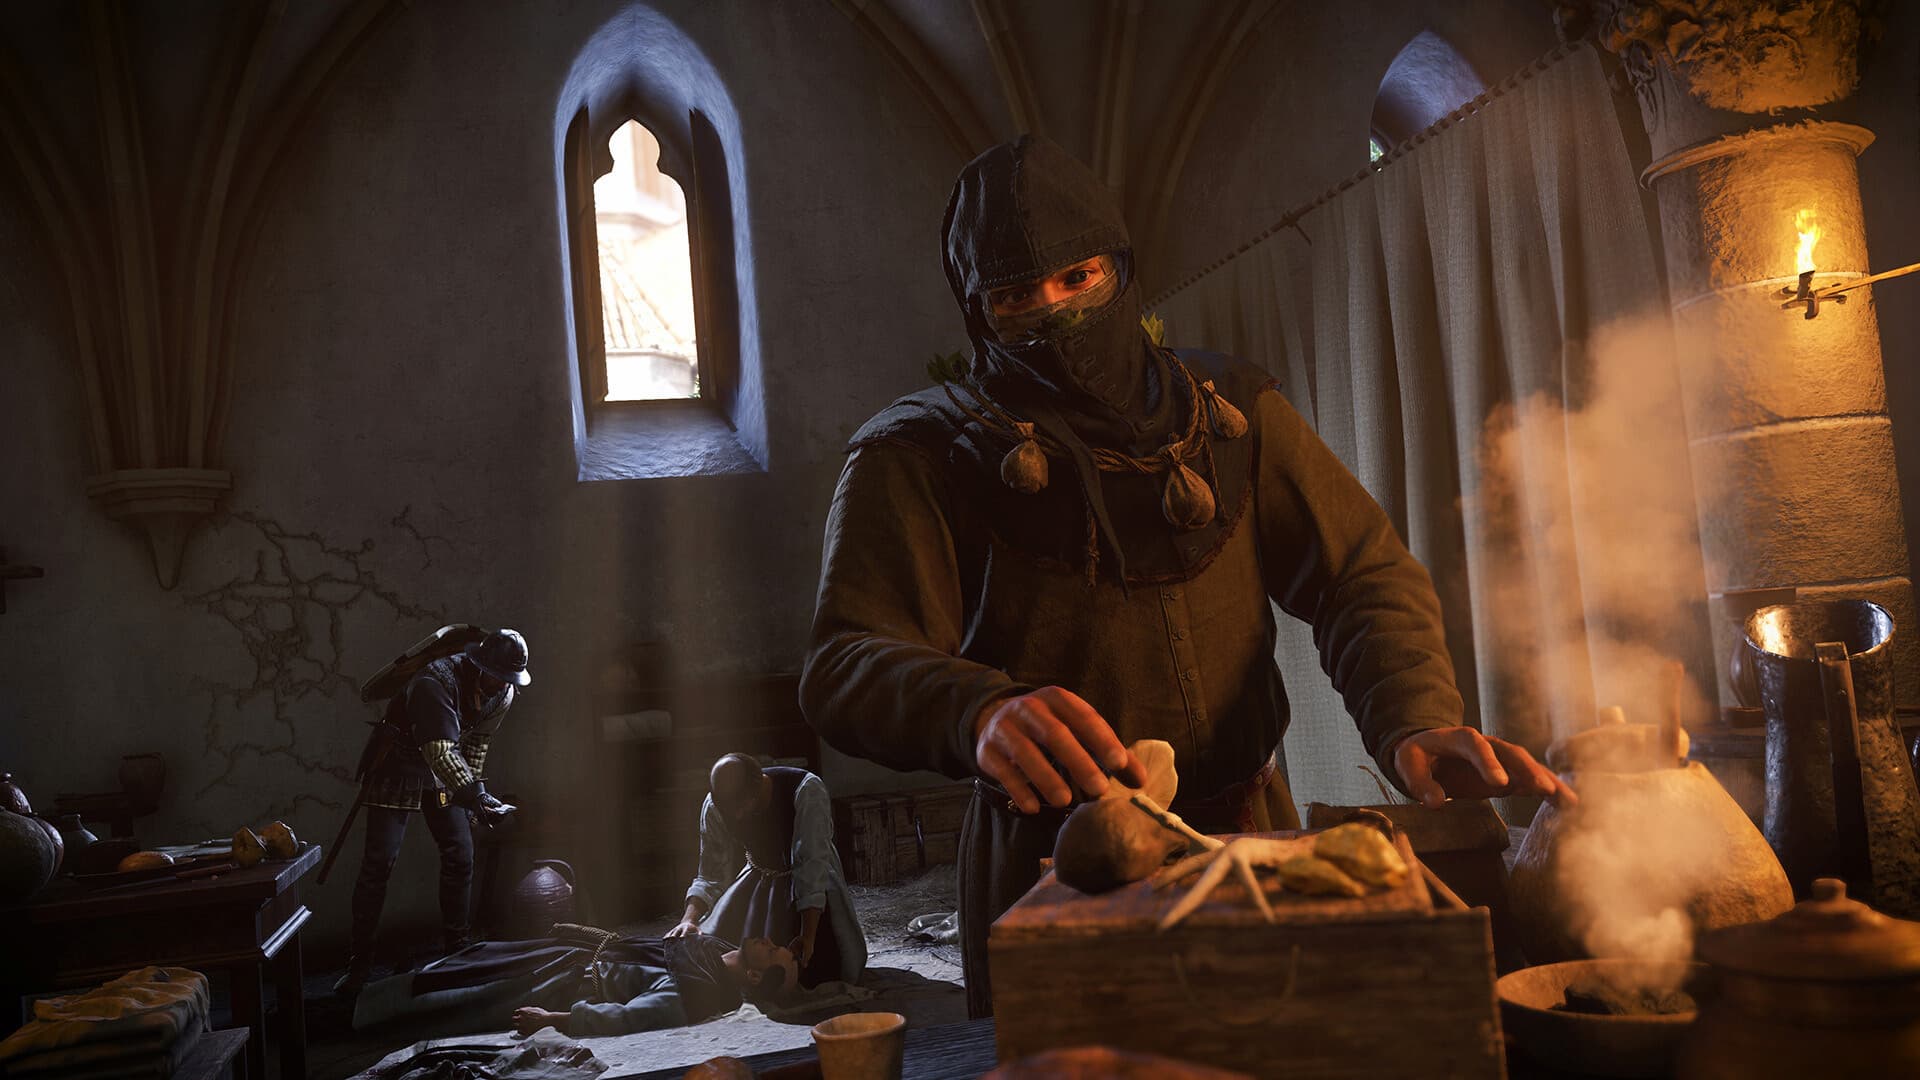
Before you head into the crypt during *Kingdom Come: Deliverance 2*’s *Mysteria Ecclesiae* DLC, it’s essential to have some aromatic oils. These oils will help keep you safe from any foul vapors that might be lurking in the crypt. Here’s how to make them.
### How to Brew Aromatic Oils in Kingdom Come: Deliverance 2
To brew aromatic oils, you’ll need to use the alchemy bench located in the small room at the rear of the infirmary.
#### Step 1: Obtain the Recipe
You can get the recipe for aromatic oils by visiting the library and talking to Crispin. Trade some mint and sage with him to receive the recipe. Crispin will also recommend a book to read that contains the recipe—look for the section titled **”Essential Oils.”**
#### Step 2: Gather the Necessary Herbs
Next, make sure you have plenty of the following herbs:
– Chamomile
– Sage
– Valerian
All three herbs can be found in the herb garden to the east of the infirmary.
#### Step 3: Brewing the Aromatic Oils
Once you have gathered all the herbs, return to the alchemy bench and follow these steps:
1. Open the alchemy book and navigate to the recipe for aromatic oils.
2. Hold **E** to prepare the ingredients, which places them in pouches on the shelf to your right.
3. Take the pot of oil on the left and pour it into the cauldron.
4. Add three handfuls of chamomile to the cauldron.
5. Lower the cauldron onto the flames and wait for it to boil.
6. As soon as it boils, turn the timer upside down and let the sand flow through. Repeat this two more times for a total of three.
7. Raise the cauldron back up.
8. Take a handful of sage, place it in the mortar, and grind it with the pestle.
9. Add the ground sage to the cauldron.
10. Lower the cauldron again, wait for it to boil, then turn the timer upside down once the sand empties.
11. Raise the cauldron immediately after the sand runs out.
12. Take a handful of valerian, grind it in the mortar, then add it to the cauldron.
If you followed all the steps correctly, you will have successfully prepared your aromatic oils.
#### Tips
If something goes wrong during the brewing process, Henry will usually provide feedback, such as boiling something for too long or too short. Pay close attention to his comments to ensure the best results.
With your aromatic oils ready, you’ll be well-prepared to face whatever dangers lay within the crypt!
https://www.shacknews.com/article/146756/how-to-brew-aromatic-oils-kingdom-come-deliverance-2
Where to find Mint and Sage at the monastery in Kingdom Come: Deliverance 2
As you play through the *Mysteria Ecclesiae* DLC for **Kingdom Come: Deliverance 2**, you’ll need to find mint and sage. These herbs are essential for crafting a new mask that will hopefully protect you from the spreading disease running through the monastery.
### Where to Find Mint and Sage at the Monastery
To locate mint and sage, head to the gardens on the eastern side of the monastery. The easiest starting point is the library room, where Brother Crispin can usually be found. From there, exit through the door on the left side and make your way through the garden.
Once you enter the garden, turn north. You will come across various herb patches tended by a monk. While he won’t say much, he may advise that you should really be staying inside during the lockdown.
The mint is located in a patch on the right side and is easily identifiable by its all-green leaves. The sage, which has purple and green leaves, can be found a little further north on the left side.
After gathering the herbs, return to the library. Avoid continuing north, as that area contains private gardens and a rotating patrol of guards who may catch you.
There should be plenty of mint and sage here for your needs. With these herbs, you’ll be able to craft your own plague mask and even give some to Brother Crispin to aid in keeping safe during the outbreak.
https://www.shacknews.com/article/146752/where-to-find-mint-sage-at-monastery-sedletz-kingdom-come-deliverance-2
How to find Albich of Uniczow in Kingdom Come: Deliverance 2
Your first quest in the *Mysteria Ecclesiae* DLC for *Kingdom Come: Deliverance 2* is titled **The Royal Physician**, setting you on the trail of Albich of Uniczow. True to Warhorse Studios’ reputation for epic adventures, expect a fair share of drama along the way.
### How to Find Albich of Uniczow in Kingdom Come: Deliverance 2
To find Albich, your journey begins in the town of Kuttenberg. Follow the quest marker to the apothecary located just off the main street and step inside.
Make your way down the main hall to the back of the building, where you’ll find Oswald Torwart on the ground floor. Speak with him, and he will inform you that Albich is nearby, directing you to the next building.
If you exit through the front, you’ll notice two angry men shouting at the door, demanding to see Albich. At this point, there isn’t much you can do to help. Instead, head back into the apothecary, proceed down the hall, exit out the back into the alley, and turn left.
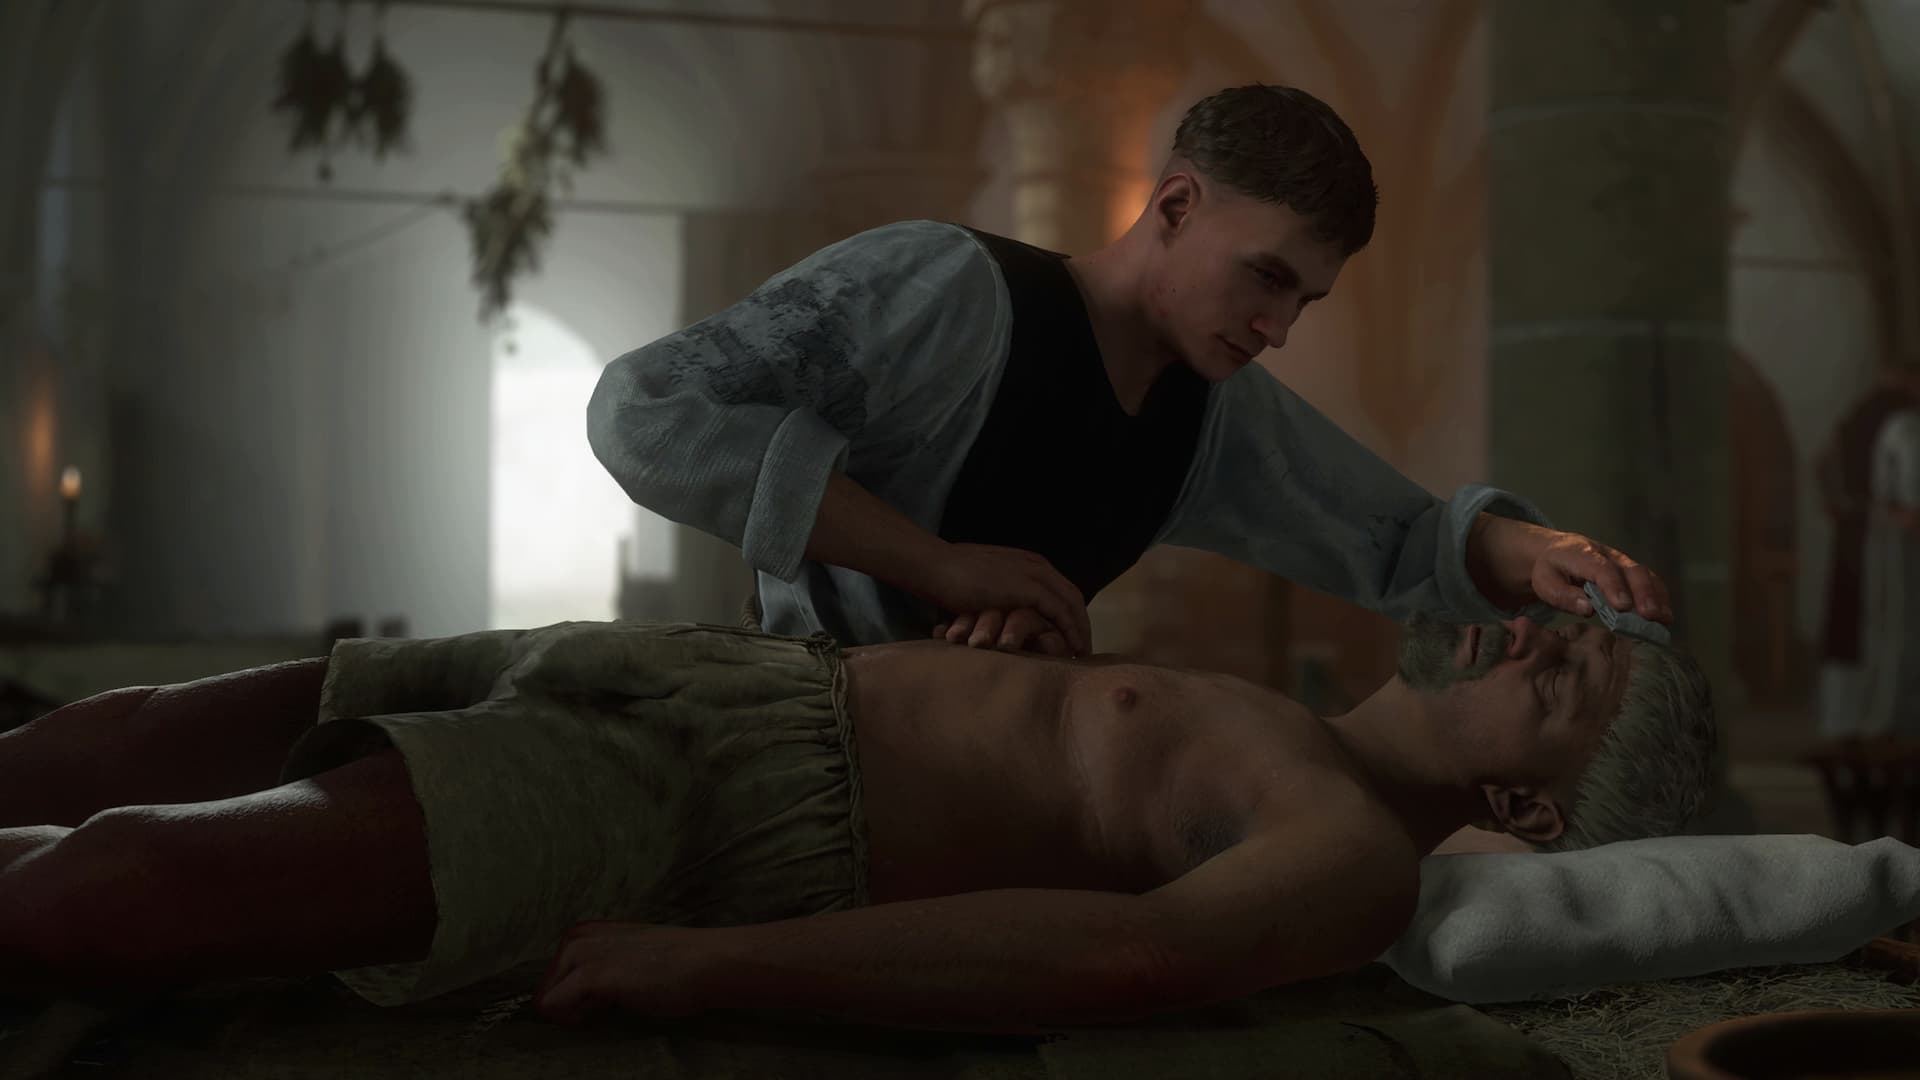
Continue walking past two houses until you spot a stone archway. Go inside, and upstairs you’ll find Albich tending to a patient. Approach him, present your letter, and shortly after, the two men will show up at the back of the house, insisting on speaking with Albich.
Go downstairs and assist Albich in dealing with the angry visitors. You will be presented with dialogue options—choose the ones best suited to your character’s stats. However, be prepared for the possibility of a fistfight regardless of your choices.
Once the men have been sent on their way, speak with Albich again. Agree to accompany him to the monastery, and your quest will continue from there.
—
With this guide, finding Albich of Uniczow should be straightforward, allowing you to progress smoothly through *The Royal Physician* quest in *Kingdom Come: Deliverance 2*. Happy adventuring!
https://www.shacknews.com/article/146685/where-to-find-albich-of-uniczow-kingdom-come-deliverance-2

How to start the Mysteria Ecclesiae DLC in Kingdom Come: Deliverance 2
**How to Start the Mysteria Ecclesiae DLC in Kingdom Come: Deliverance 2**
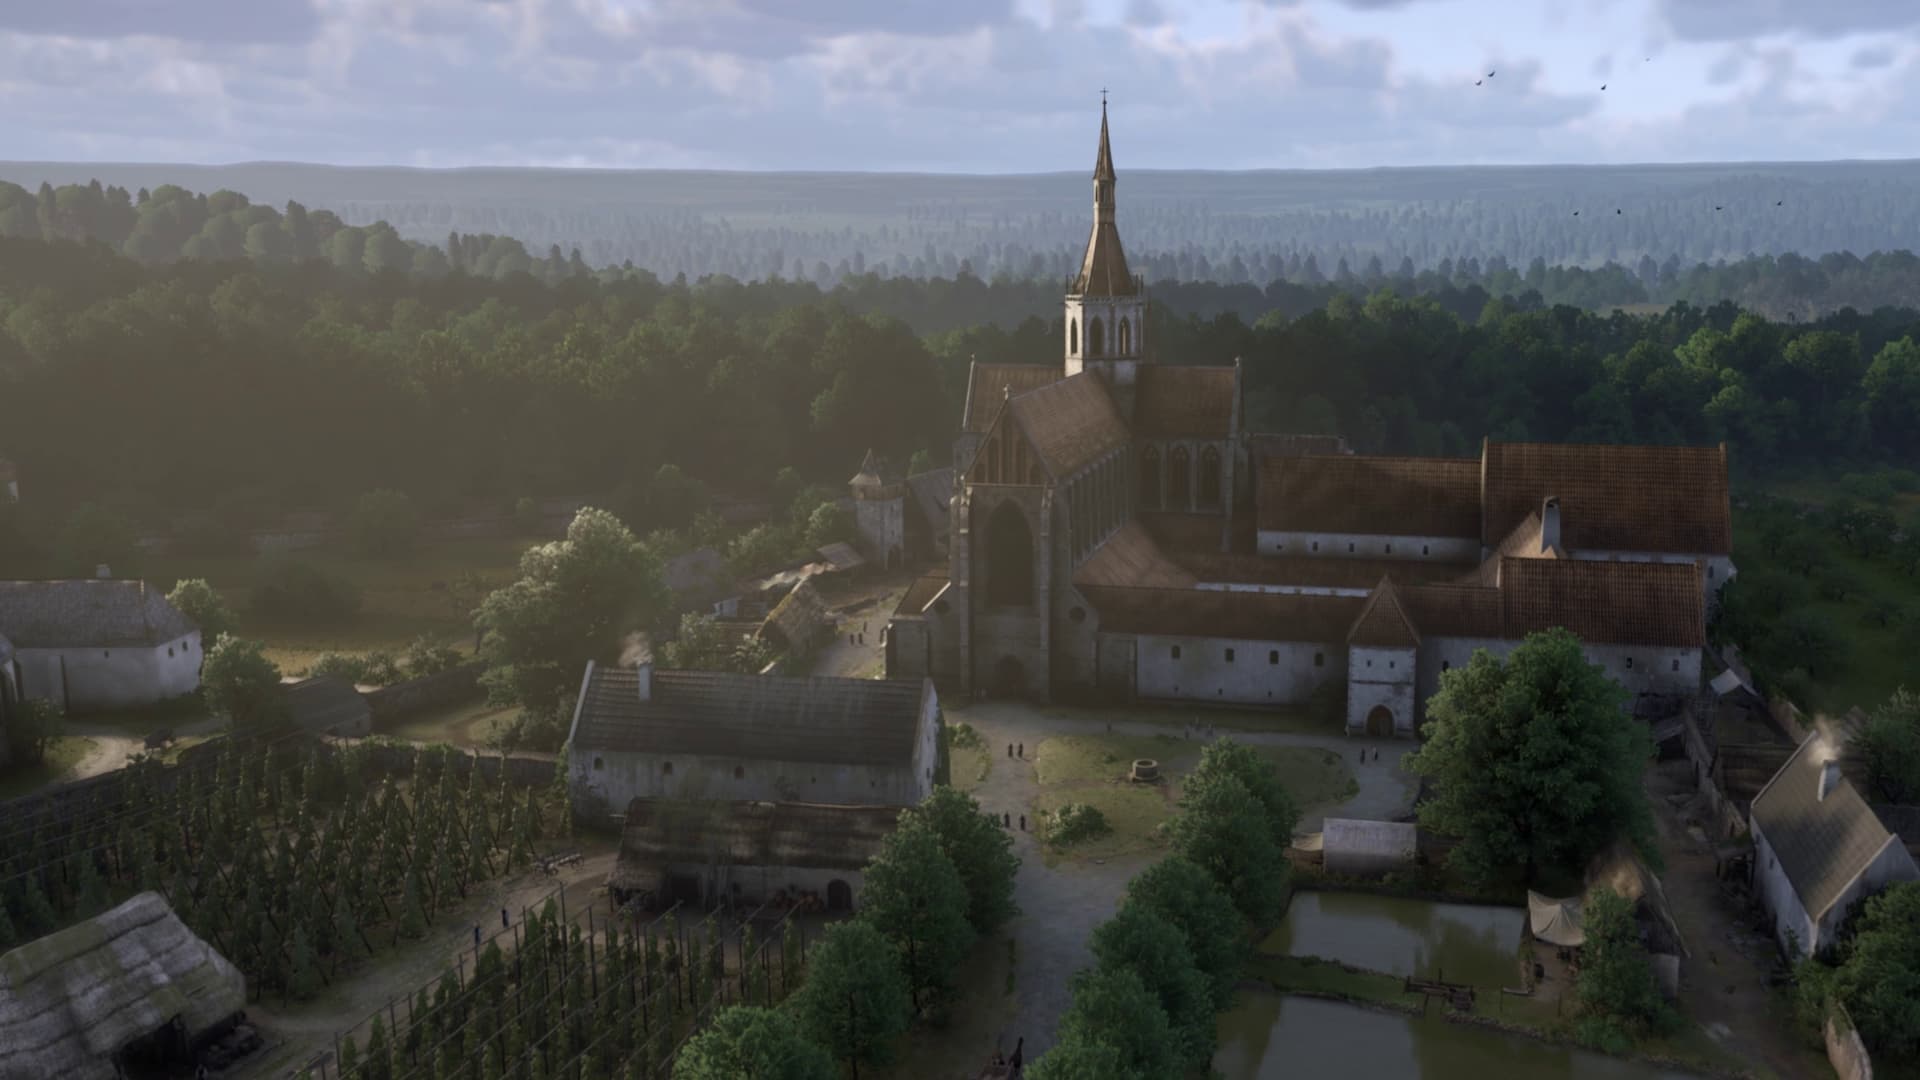
Are you ready to immerse yourself in Henry’s most perilous adventure yet? The Mysteria Ecclesiae DLC for *Kingdom Come: Deliverance 2* takes you deep into the enigmatic Sedletz Monastery, currently plagued by a mysterious disease—and it’s up to Henry to uncover the truth.
**Requirements to Begin the Mysteria Ecclesiae DLC**
To embark on this new journey, you must first reach the Kuttenberg map. Additionally, you need to be at least on the second day of the quest “The Sword and the Quill,” which acts as the introductory quest when entering Kuttenberg. Make sure you have already spoken to Peter and spent a night in the area.
**Locating the DLC Start Point**
Once these conditions are met, check the map of the Suchdol area. Look for an icon depicting a golden cross on a purple background—this is your destination. It marks the location of Peter of Pisek, who can be found upstairs, in the same area where you initially met him upon arriving in Kuttenberg.
**How to Start the Adventure**
Speak with Peter of Pisek, and he’ll introduce you to Albich of Uniczow. Peter will request that you escort Albich on his journey to the Sedletz Monastery. Agree to help Albich to officially begin the Mysteria Ecclesiae DLC. The Sedletz Monastery features its own unique map, where the mystery and intrigue of the DLC truly begin to unfold.
**Important Note**
Once you start the DLC, you’ll remain within the monastery until the storyline concludes. After completion, you’ll be free to revisit the monastery anytime you wish.
Prepare yourself for an unforgettable adventure as you dig deeper into the secrets of the Sedletz Monastery in *Kingdom Come: Deliverance 2*!
https://www.shacknews.com/article/146684/how-to-start-the-mysteria-ecclesiae-dlc-kingdom-come-deliverance-2